The first time you log in to DMSchedules, you will be presented with the step-by-step student setup. This will take you through the following steps:
1. Establish your caseload
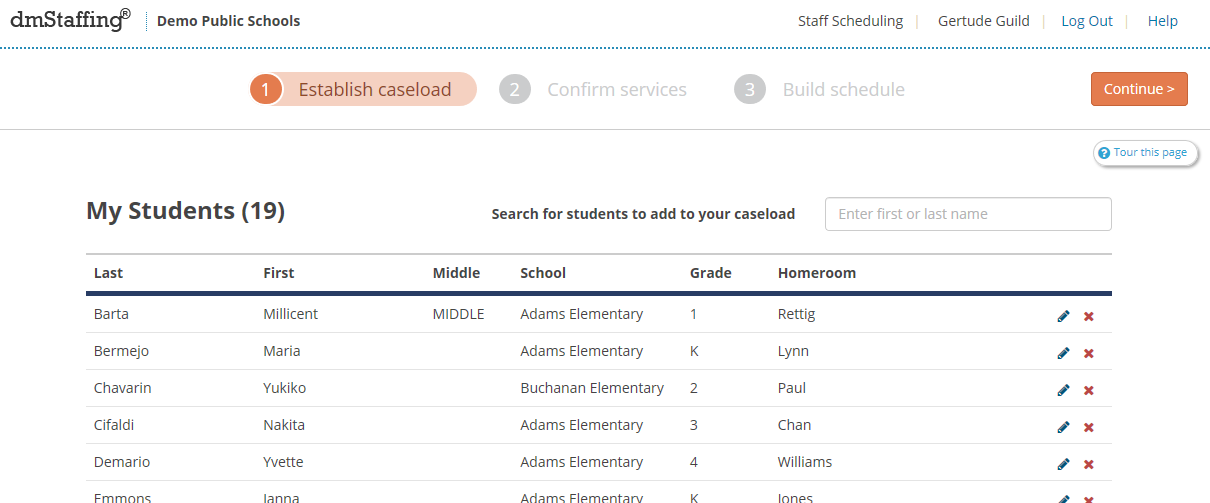
Add students you service by typing the first few letters of their first or last name and selecting them from the list. In some cases, the names will have already been added for you. Simply verify that the list is accurate and add or remove students as needed, or edit the student information by clicking directly on the row, making the change, and clicking Save. Click Continue when done.
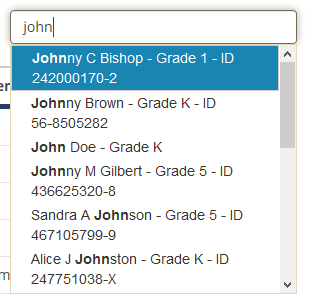
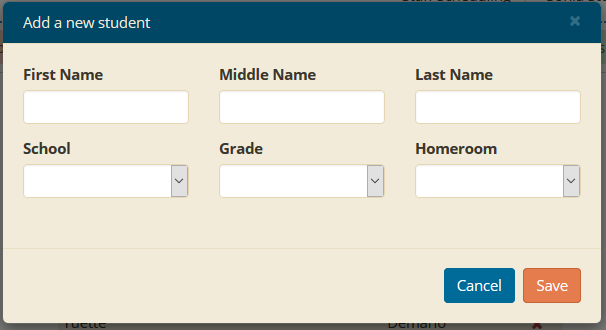
If you cannot find the student, click <Add a new student> in the search results list to create a new record.

Click Continue when done.
2. Confirm your student's services
On this step you will review each of your student’s services and confirm how they will be scheduled.
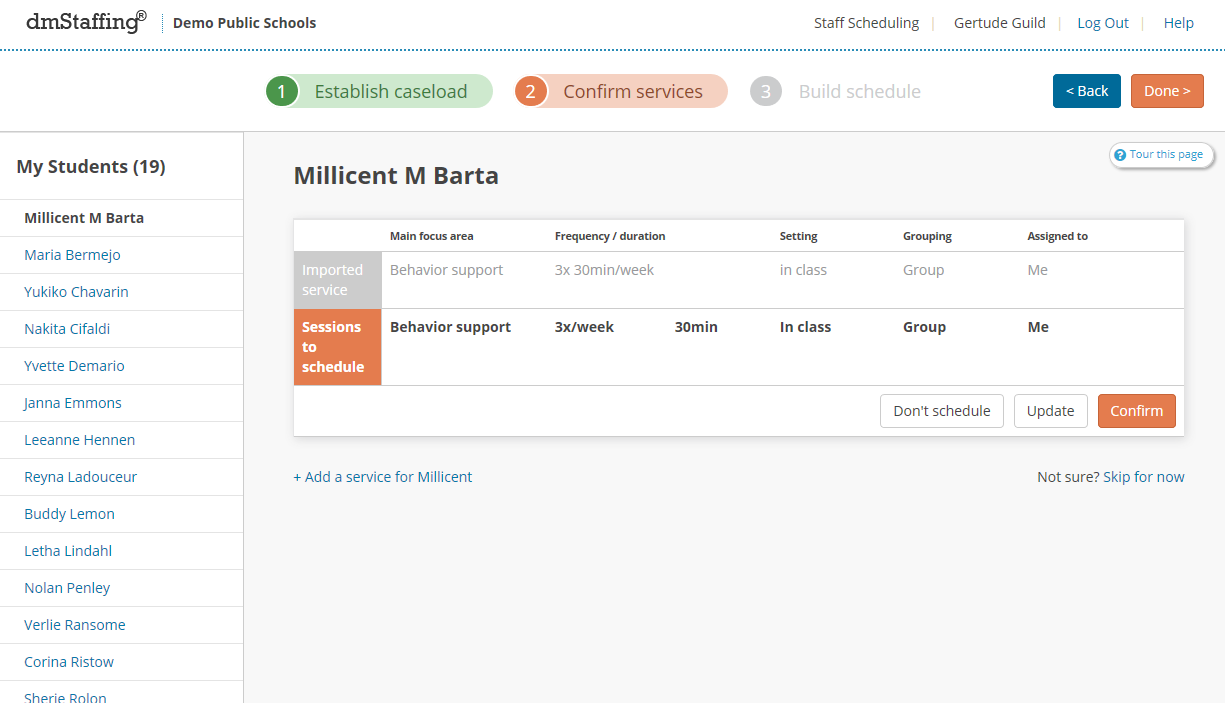
On the left is the list of your students to confirm. A green checkmark will appear next to students you have confirmed.
In the center of the page are cards that represent the services for the selected student. The top area of each card shows the service imported from your system. The Sessions to schedule portion shows how we have interpreted the data for scheduling.
Confirm that the imported information is correctly interpreted, or Update the information if you need to make changes.
Click Don't schedule if you do not wish this session to be on your schedule or if it is not a service you provide.
Click Done once all your student services are confirmed.
You do not need to complete the setup in one session. You can exit the application and return at any time to complete the student setup. Information is saved as you go, so nothing will be lost.
Once you have verified that all the information is correct, you will schedule each student service on a weekly calendar.
0 Comments